Embarking on the journey of fly fishing can transform serene moments by the water into heart-pounding adventures, and mastering the art of tying your own flies is a skill that elevates this experience. “How to Tie Flies for Fly Fishing: Basics for Beginners” is your friendly guide into this intricate yet rewarding craft. Whether it’s your first venture into fly fishing or you’re looking to refine your fly-tying techniques, this article equips you with the essential knowledge and step-by-step instructions needed to create effective and visually appealing flies that could very well become the secret behind your next big catch.
Definition and purpose of fly tying
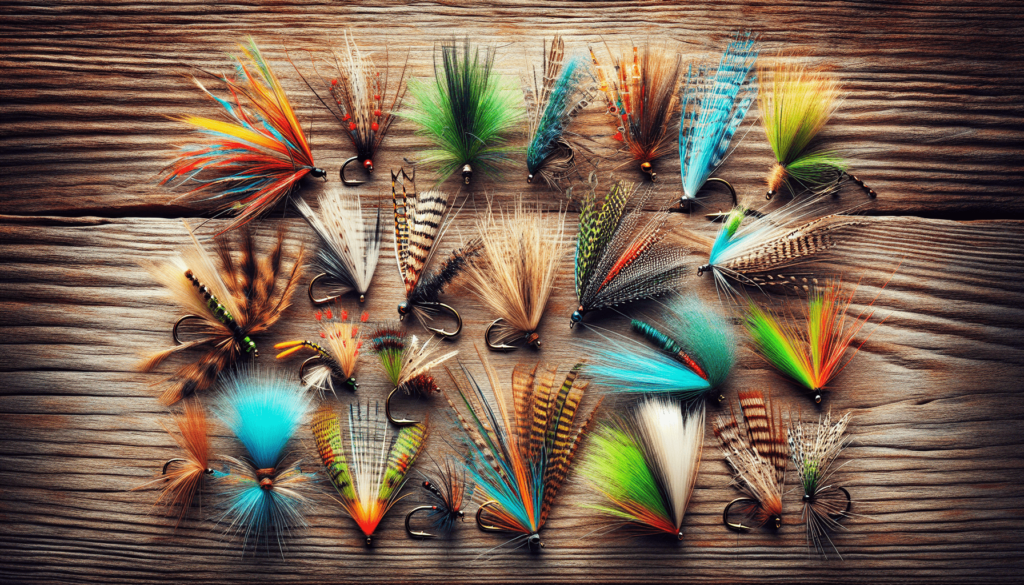
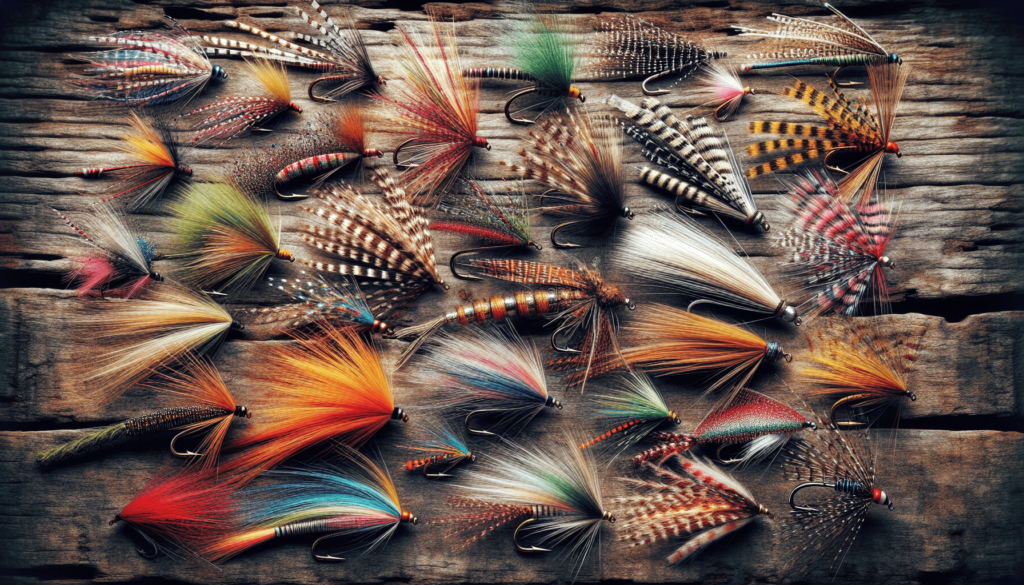
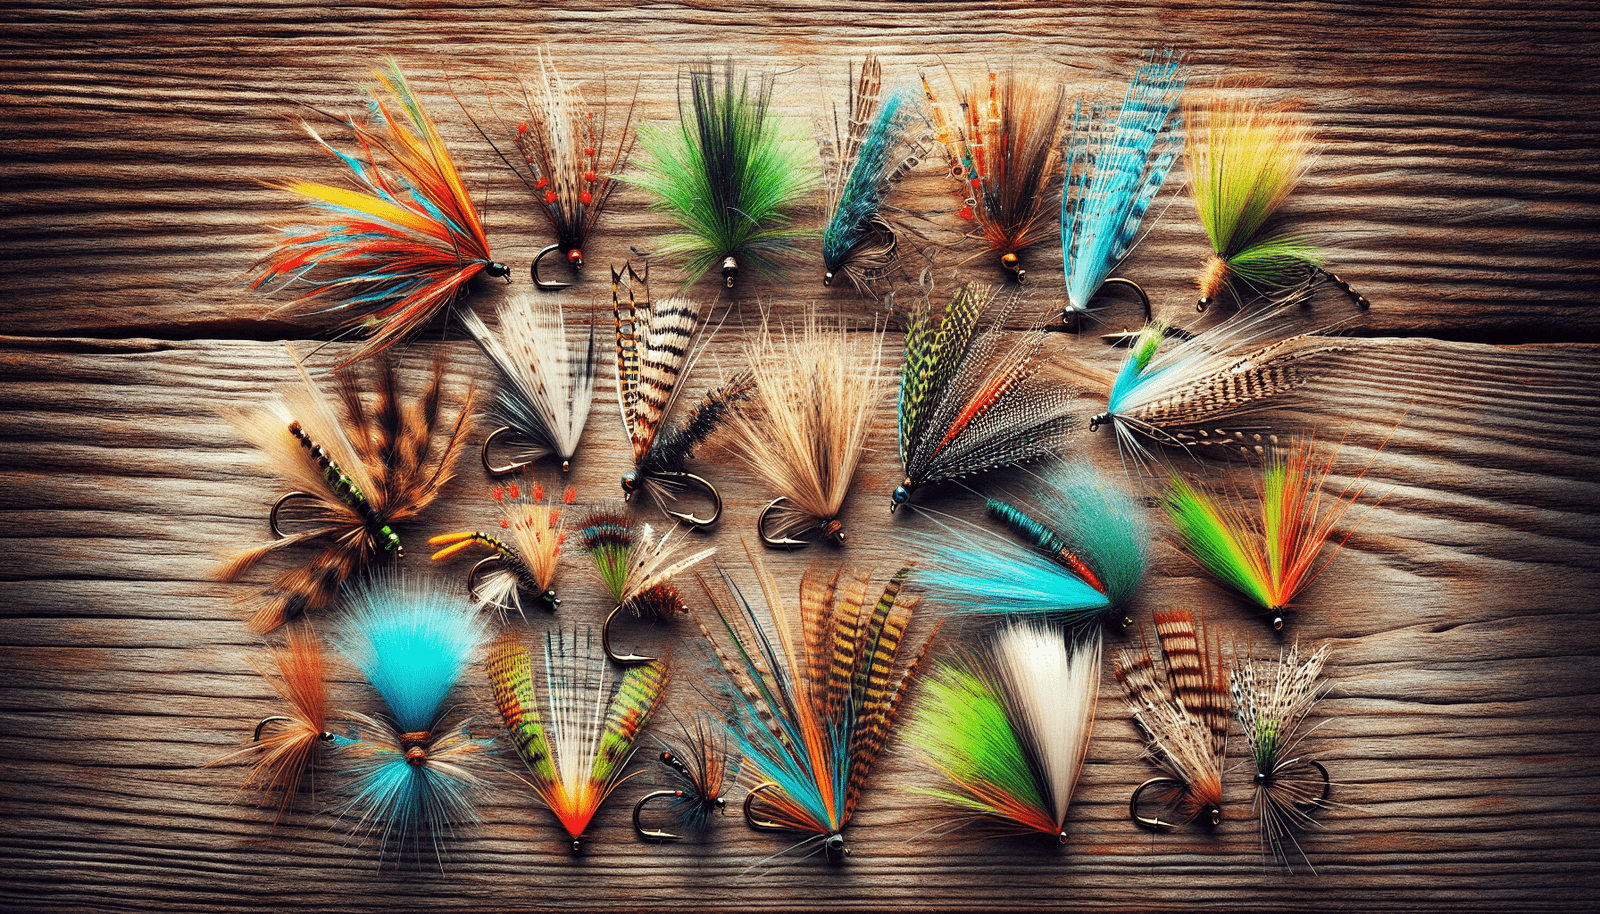
Fly tying is the craft of creating artificial lures used in fly fishing by combining various materials like feathers, thread, and hooks. This technique not only allows you to create custom flies suited for specific types of fish but also adds a layer of personal satisfaction to your fishing experience. The purpose of fly tying is to mimic the look and movement of natural fish prey, making your fishing more effective and engaging.
Overview of fly fishing
Fly fishing is a beautiful and skilled form of angling where you use a lightweight lure—or fly—to catch fish. Unlike traditional fishing, fly fishing presents the challenge of presenting the fly in a natural manner, requiring a unique set of casting techniques. This sport not only connects you with nature but also requires you to understand the behavior of fish, making it both a science and an art.
Different types of flies: Dry, Wet, Nymph, and Streamers
Flies come in various forms, each designed for specific fishing conditions and targets. Dry flies float on the water surface, imitating adult insects. Wet flies sit below the surface, representing drowned adult insects or emerging larvae. Nymphs are designed to look like larval-stage insects underwater, and they’re a go-to choice for many fly fishers due to their effectiveness year-round. Lastly, Streamers mimic small fish or large aquatic prey and are moved through the water to attract larger fish looking for a substantial meal.
Setting Up Your Fly Tying Workspace
Choosing a comfortable and well-lit workspace
A comfortable and well-lit workspace is crucial in fly tying. Good lighting helps you see small details on your flies, while a comfortable seat ensures you can work for hours without discomfort. Choose a space that minimizes distractions, has a solid, flat surface, and where you can store your materials and tools within reach.
Essential tools for fly tying: Vises, scissors, hackle pliers, and more
Essential tools for fly tying include a vise to hold your hook securely, sharp scissors for cutting materials, and hackle pliers for gripping feathers. Additionally, you’ll need thread bobbins to manage your thread and a whip finish tool to tie off your flies. Investing in quality tools from the start makes the tying process more enjoyable and efficient.
Organizing your materials for efficiency
Keeping your materials organized is key to a smooth fly tying experience. Use storage solutions such as compartmentalized boxes for small items like beads and hooks, and baggies or bins for larger materials. Labeling your storage helps you quickly find what you need, reducing frustration and keeping your workspace tidy.

Gathering Materials Needed
Understanding fly tying materials: Hooks, threads, feathers, and beads
The basic materials for fly tying include hooks, threads, feathers, and beads. Hooks come in various sizes and shapes, each suited for different types of flies. Threads, which secure the materials to the hook, vary in strength and color. Feathers add realism to your flies, while beads can be used for weight or as eyes on your lure. Each material plays a critical role in the function and appearance of your fly.
How to choose the right materials for different types of flies
Choosing the right materials depends on the type of fly you’re tying. Research the natural prey of your target fish and select materials that mimic its size, shape, and color. For dry flies, focus on buoyant materials; for nymphs, look for sinkable components. Always consider the water conditions and visibility when selecting colors.
Where to buy fly tying materials
Fly tying materials can be found at local fishing shops, craft stores, or online. Starting with a kit is a great idea for beginners, as kits usually contain a selection of essential materials for various types of flies. As you gain experience, you can then purchase specific materials based on your needs and preferences.
Basic Fly Tying Techniques
Starting your thread on the hook
To start tying a fly, you first need to secure your thread to the hook. Begin near the eye and wrap your thread backward, overlapping it to lock it in place. This base layer of thread provides a foundation for attaching additional materials.
Securing materials on the hook
When adding materials to the hook, lay them on top of your thread base, and use tight wraps to secure them. It’s important not to overcrowd the hook; each material should serve a purpose. Maintaining even tension on your thread is key to creating durable flies.
Basic wrapping and tying techniques
Basic wrapping techniques involve creating smooth, even layers of thread or materials around the hook. Use your fingers to spread materials evenly as you wrap. When finishing your fly, a whip finish knot is essential for securing the thread. Practicing these techniques will improve your flies’ quality and durability.

Tying Your First Fly
Step-by-step guide to tying a simple Woolly Bugger
The Woolly Bugger is an excellent first fly to tie. Start with securing your thread to the hook, then tie in a marabou feather tail. Add a piece of wire for later ribbing, then tie in the chenille that will become the body. Wrap the chenille forward to create the body, followed by the wire to create the ribbing. Tie in a hackle feather and wrap it forward, then secure everything with a whip finish knot. Trim any excess materials, and your Woolly Bugger is complete!
Common mistakes and how to avoid them
Common mistakes include tying materials too far forward on the hook, using too much thread, and not securing materials properly. To avoid these, always leave enough space near the hook eye, use minimal but effective thread wraps, and ensure each material is securely anchored before moving on.
Tips for improving your technique
Improving your technique comes down to practice and patience. Focus on maintaining even tension, practice securing different types of materials, and work on creating tidy, proportional flies. Watching tutorials and experimenting with different materials and patterns can also help enhance your skills.
Advancing Your Skills
Learning more complex flies and techniques
As you become more comfortable with basic flies, challenge yourself with more complex patterns and techniques. Each new pattern introduces different materials and tying methods, broadening your skills and creativity. Experimenting with variations on standard patterns can also be a fun way to learn.
Understanding the importance of proportion and color
Proportion and color are crucial in creating effective flies. The size and shape of your fly should mimic natural prey, while color can be adjusted based on the fishing conditions and target species. Understanding the principles of proportion and the effects of color underwater will significantly increase your success rate.
Practicing consistency in your fly tying
Consistency is key to mastering fly tying. Practice tying multiples of the same fly, focusing on making each one identical to the last. This not only improves your technique but also ensures that you have a consistent set of flies for your fishing adventures.
Understanding Fish and Their Habitat
Knowing what fish eat and when
Understanding the diet of your target fish species and when they feed can drastically improve your fishing success. Research the natural prey in your fishing area and their life cycles. Timing your fishing trips to match these feeding times increases your chances of a catch.
How weather and season affect fish behavior and choice of flies
Weather and season play significant roles in fish behavior and their food preferences. Fish tend to feed more aggressively before a storm and during certain seasons. Aligning your fly choice with these conditions—such as using brighter flies in murky water after a rain—can lead to more bites.
Creating flies for specific fish and environments
Designing flies for specific fish and environments involves considering visibility, water depth, and prey types. Experiment with colors and materials that are effective in your local waters, and always be prepared to adapt your approach based on observations and experiences.
Maintaining Your Fly Tying Tools and Materials
Cleaning and storing your tools properly
Maintaining your tools ensures they remain in good working condition. Clean your tools after each tying session, removing any glue or materials. Store them in a dry place to prevent rust or deterioration. Properly cared-for tools will serve you well for years to come.
Managing your materials to avoid deterioration
Materials, especially natural ones, can deteriorate if not stored properly. Keep feathers, furs, and other natural materials in airtight containers to protect them from moisture and pests. Synthetic materials should also be organized and stored away from direct sunlight.
When to replace materials and tools
Regularly inspect your materials and tools for signs of wear or damage. Dull scissors, bent hooks, or brittle materials can compromise the quality of your flies. Replacing these as needed ensures you always have the right tools and materials for the job.
Joining the Fly Tying Community
Benefits of joining fly tying forums and social media groups
Joining forums and social media groups connects you with a community of passionate fly tiers. These platforms offer a wealth of knowledge, from tying tips to advice on fishing locations. Sharing your creations and experiences can also provide constructive feedback, helping you grow as a fly tier.
Attending workshops and classes
Workshops and classes offer hands-on learning from experienced fly tiers. These events are great opportunities to learn new techniques, ask questions, and meet other enthusiasts. Many shops and clubs offer classes for all skill levels, from beginners to advanced tiers.
Participating in fly tying competitions
Participating in fly tying competitions can be a fun and rewarding experience. Competitions challenge you to refine your techniques and encourage creativity. They also provide a platform to showcase your skills and learn from other talented tiers.
Resources for Continued Learning
Recommended books and videos for beginners
There are numerous books and videos dedicated to fly tying for beginners. These resources cover everything from basic techniques to advanced patterns and can be invaluable guides on your fly tying journey. Look for well-reviewed and recommended titles by experienced fly tiers.
Online courses and tutorials
Online courses and tutorials offer flexible learning opportunities. Many reputable fly tiers and organizations offer online instruction, allowing you to learn at your own pace. Video tutorials are particularly helpful for understanding complex techniques and can often be paused and replayed as needed.
Fly tying kits for beginners
For those just starting out, fly tying kits can be an excellent way to get introduced to the art. These kits usually include a selection of materials and tools needed to tie several types of flies, along with instructions. They provide a cost-effective way to try fly tying and see if it’s a hobby you’d like to pursue further.


