Imagine elevating your angling experiences to new heights with innovative fly tying techniques specifically crafted for the seasoned fisherman. “Advanced Fly Tying Techniques for Experienced Anglers” is designed to enrich your skill set, offering a treasure trove of advanced methods and insider tips to make your flies more enticing to those elusive catches. This comprehensive guide goes beyond the basics, exploring intricate patterns and materials that promise to add a new level of artistry and effectiveness to your fishing adventures. Whether you’re looking to master the art of realistic imitations or integrate more complex patterns into your arsenal, this article is your gateway to becoming a more adept and versatile angler.
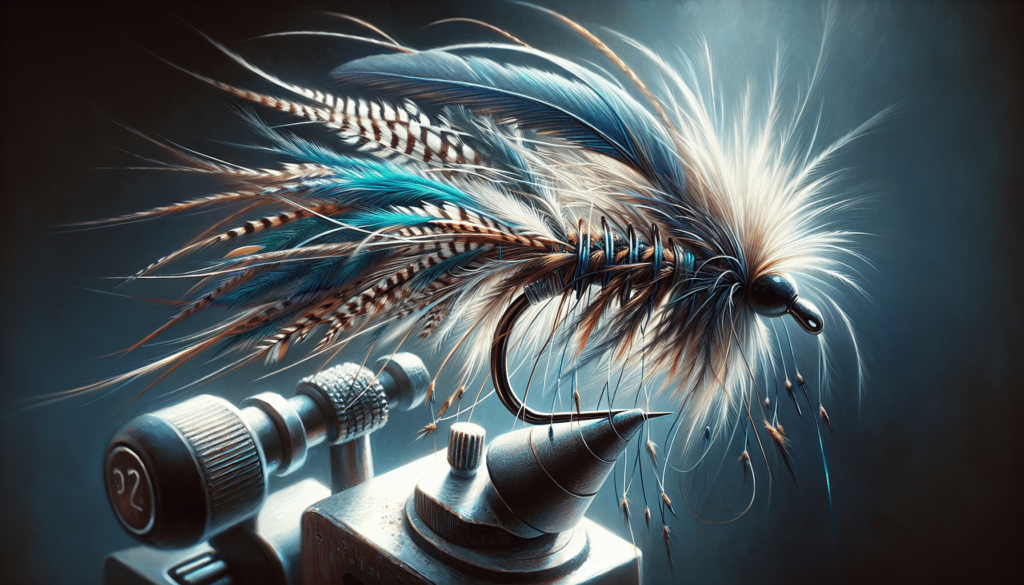
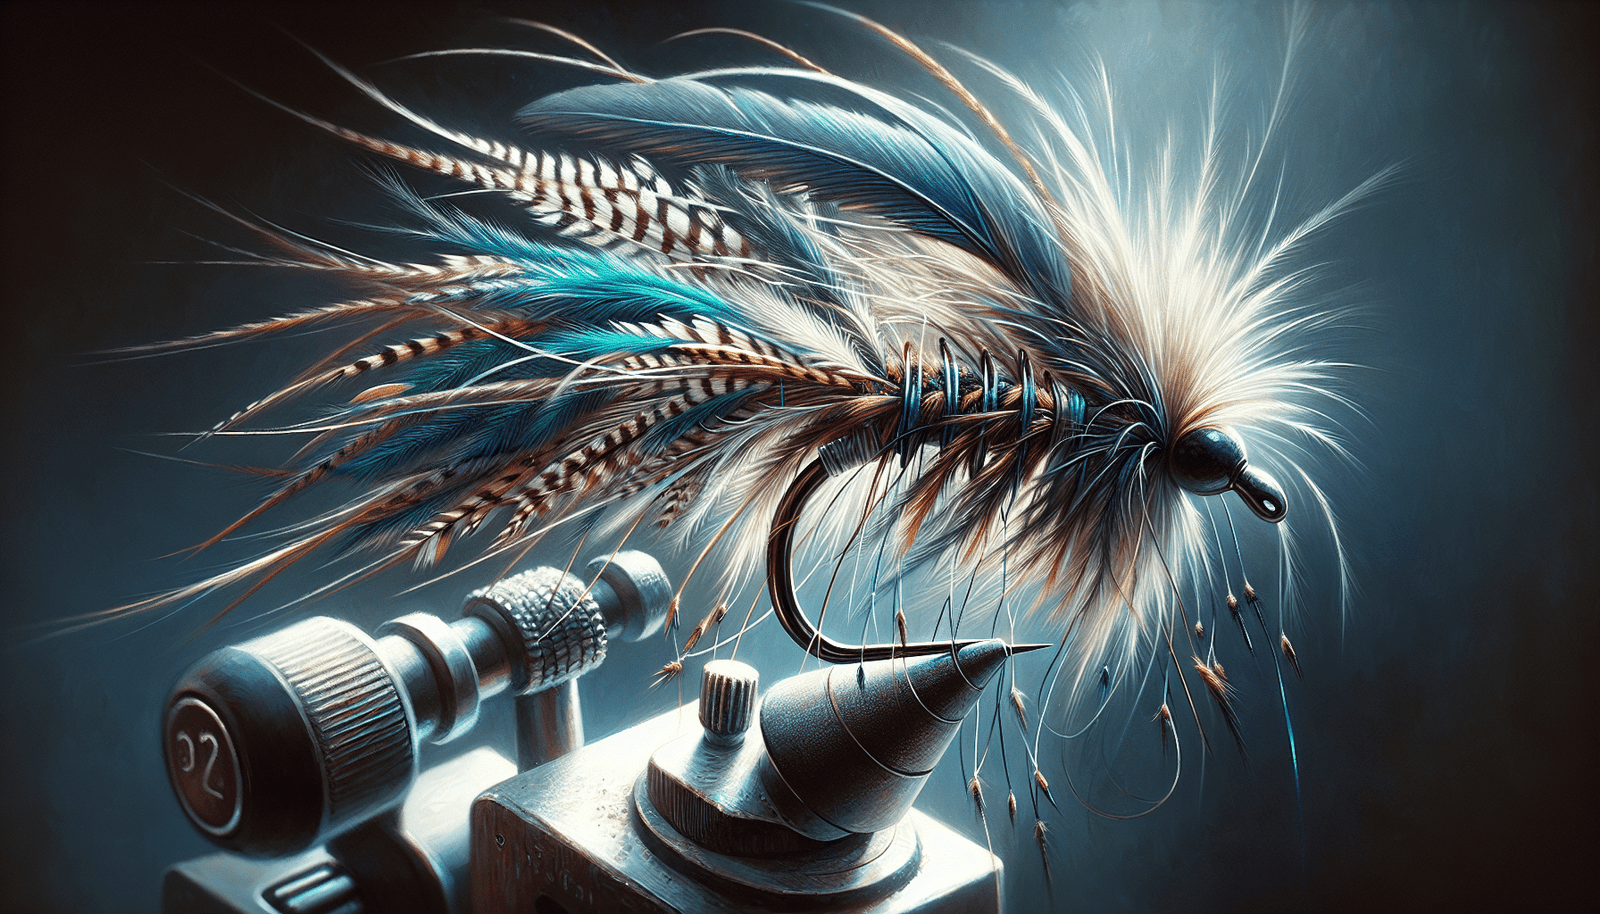
Fly tying is an art as much as it is a craft, a way for you to connect with the natural world and the spirit of angling in a deeply personal way. The materials you choose are your palette, with each fiber and strand contributing to the lifelike qualities of your creations.
Exploring Natural vs. Synthetic Materials
As you embark on your fly tying journey, one of the first choices you’ll make is between natural and synthetic materials. Natural materials, such as feathers, fur, and hair, have been the backbone of fly tying for centuries. They offer unparalleled movement and a classic appearance that synthetics strive to replicate. On the other hand, synthetic materials offer durability, vibrant colors, and ease of use that can make them indispensable for certain patterns. Your choice might depend on the specific behavior of the fly you’re tying, water conditions, or targeted species.
The Role of Colors and Textures
Colors and textures play a crucial role in your fly’s effectiveness. Fish are incredibly perceptive to colors and the way different materials move in the water. By choosing the right combination, you can mimic the natural prey of your target species more closely. Textures, whether from the softness of marabou or the stiffness of synthetic bristles, contribute to the fly’s action and realism.
Sourcing High-Quality Tying Materials
High-quality materials can make the difference between a fly that’s tolerated and one that’s irresistible to fish. Source materials from reputable suppliers and don’t shy away from examining them closely. The best feathers should have uniform barbs and be free from damage, while furs and hairs should be clean and well-preserved. Always keep in mind the specific needs of your fly patterns when selecting materials.
Advanced Tools for Fly Tying
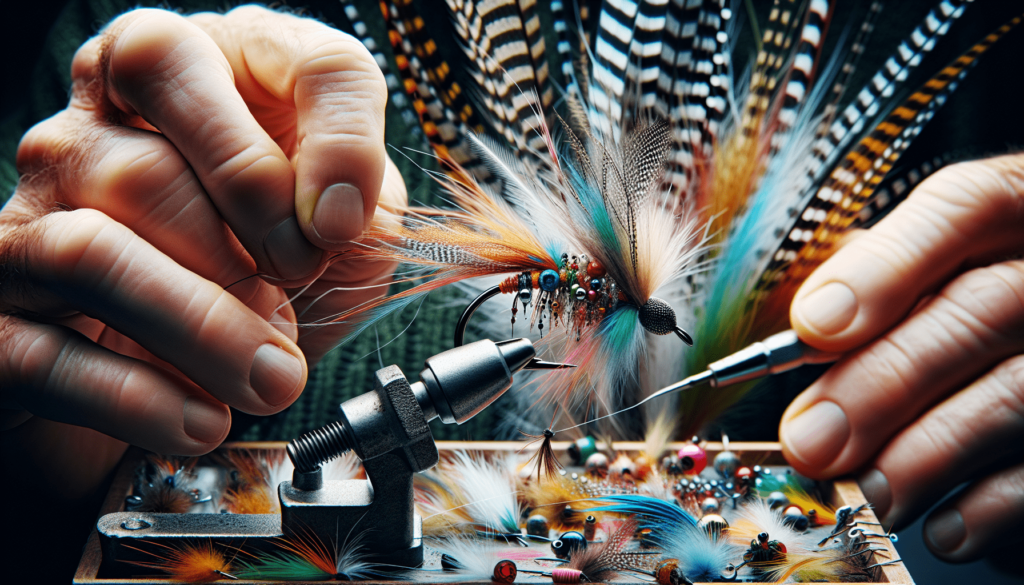
Advanced fly tying requires precision, patience, and, importantly, the right tools. Investing in advanced tools can elevate your tying techniques and allow you to create more sophisticated and effective flies.
Must-Have Tools for Advanced Techniques
Beyond the basics, advanced tyers should consider tools that add precision and versatility. A good pair of hackle pliers, a dubbing twister, and sharp, durable scissors make detailed work more manageable. Specialty tools, like hair stackers or whip finishers, also play their part in creating professional-grade flies.
How to Use a Rotary Vise
A rotary vise is a game-changer in advanced fly tying. It allows you to rotate your fly 360 degrees without repositioning, offering unrivaled access and control. When using a rotary vise, practice maintaining even tension on your thread and materials as you rotate the vise. This tool is particularly useful for evenly wrapping materials and creating symmetrical bodies.
Utilizing UV Resins and Lights
UV resins and lights have revolutionized the finishing touches on flies. These resins cure in seconds under UV light, creating durable, glassy finishes that enhance both appearance and longevity. Use them to secure heads, set eyes, or add glossy bodies. Experiment with layering and curing times to achieve different effects.

Mastering Dry Flies
Dry flies represent the pinnacle of realism in fly tying, designed to float enticingly on the water’s surface.
Techniques for Realistic Wings and Legs
Realistic wings and legs not only improve the visual fidelity of your fly but also its behavior in the water. Techniques like splitting feather fibers or using thin strips of synthetic materials can create lifelike appendages. Remember, the key to realism is proportion—observe real insects closely and adjust your techniques accordingly.
Choosing the Right Hackle
The right hackle can make or break a dry fly. Select hackle that matches the size of your fly, with fibers that stand perpendicular to the stem. For dry flies, look for hackles with stiff barbs to support the fly on the water’s surface. Genetic hackles, bred specifically for fly tying, often offer the best combination of flexibility and strength.
Creating Irresistible Surface Patterns
Creating surface patterns that are irresistible to fish means focusing on silhouette, color, and floatation. Experiment with different hackle wraps, dubbing techniques, and wing materials to find what works best for the waters you fish. The goal is to imitate the natural insects as closely as possible—sometimes, a slight imperfection adds to the realism.
Nymphs and Wet Flies
Nymphs and wet flies sink below the surface, imitating aquatic insects at different life stages. Mastery here involves constructing flies that behave realistically under water.
Innovative Underbody Construction
The underbody of your nymph or wet fly sets the foundation for its overall shape and sink rate. Techniques like using lead wire wraps or incorporating beads can add weight where needed. Meanwhile, materials like foam or synthetic fibers can help create buoyant sections, mimicking air sacs or swollen abdomens of emerging insects.
Weighting Techniques for Sinking Flies
To ensure your nymphs and wet flies reach the right depth, mastering weighting techniques is essential. Beyond lead wrapping, consider using tungsten beads or underbody wraps of non-toxic materials. The key is balancing weight for proper sink rate without compromising the fly’s action or realism.
Creating Lifelike Movement Underwater
Movement is what often triggers a strike. Utilize materials like rubber legs, soft hackles, or marabou to introduce natural, undulating movements. Pay attention to how these materials behave in water—sometimes, less is more, and a subtle twitch can be more enticing than frantic action.

Streamers and Large Flies
Targeting larger predatory fish requires streamers and large flies that imitate baitfish or large aquatic insects.
Building Big Flies for Big Fish
When building big flies, focus on durability and action. Use strong hooks and thread to withstand aggressive strikes. Materials like bucktail, synthetic fibers, and tinsel can create the volume and flash needed to attract attention. Balance is key—ensure your fly swims correctly by testing it in water.
Articulation Techniques for more Action
Articulated flies, with segments joined by wire or monofilament, can produce incredibly lifelike movements. Mastering articulation involves understanding the mechanics of how segments move in relation to each other. Experiment with different lengths and materials to create varying actions that mimic injured or fleeing prey.
Balancing and Streamlining for Perfect Presentation
Streamlined flies cast better and move more naturally in water. Pay attention to how materials are laid and secured to avoid unnecessary bulk or drag. A balanced fly, weighted appropriately, will swim correctly and can be the difference between catching and just fishing.
Saltwater Fly Tying Techniques
Saltwater fly tying confronts the challenges of targeting powerful species in corrosive environments.
Adapting to Saltwater Species
Saltwater species demand flies that are both robust and realistic. Use strong hooks and materials that withstand salt water. Patterns should reflect the prevalent baitfish or crustaceans, with attention paid to size, shape, and coloration.
Durability Techniques for Saltwater Flies
Durability is paramount in saltwater fly tying. Use epoxy or UV resins to secure materials and protect the fly from toothy fish and abrasive environments. Reinforce tying points with super glue and choose materials that won’t easily fade or degrade in saltwater.
Incorporating Flash and Reflective Materials
Many saltwater predators are attracted to flash and reflection. Incorporating materials like crystal flash, mirror tinsel, or holographic fibers can make your flies more attractive. Balance is important—too much flash might spook wary fish, so observe natural prey and mimic their reflective qualities.
Emergers and Terrestrials
Emergers and terrestrials represent insects at transitional stages or those living outside aquatic environments, offering unique challenges and rewards.
Mimicking the Transition Stages of Aquatic Insects
Emergers are designed to mimic insects as they transition from nymph to adult. Focus on the half-submerged appearance using materials that trap air or sit just below the water’s surface. Techniques like parachute posts or CDC (cul de canard) feathers can simulate emerging wings perfectly.
Terrestrial Patterns: Ants, Beetles, and More
Terrestrial patterns require a shift in perspective, mimicking land insects that have fallen into the water. Materials like foam and deer hair can create buoyant bodies of ants, beetles, or grasshoppers. Pay attention to shape and silhouette—often, the outline is what a fish sees first.
Floating and Sinking Strategies
Whether your pattern floats or sinks can dictate the moment of the strike. Floating flies benefit from materials like foam and hackles that keep them atop the water. For sinking patterns, consider the weight and water-absorbing properties of your materials to achieve the desired sink rate.
Advanced Dubbing Techniques
Dubbing allows for the creation of textured, lifelike bodies and thoraxes on flies.
Creating Lifelike Bodies and Thoraxes
To create lifelike bodies and thoraxes, master the art of dubbing. The right mix of fur, synthetic fibers, and fine threads can mimic the segmented bodies of insects. Use a dubbing loop to apply materials evenly, creating bulk where needed without adding excessive weight.
Dubbing Loops and Brushes
Dubbing loops and brushes are essential for applying materials with control. These techniques allow for the incorporation of longer fibers or the blending of colors for a more natural look. Practice with different thicknesses and materials to achieve the desired texture and volume.
Mixing and Blending Dubbing Materials
Mixing and blending your dubbing materials can achieve specific colors, textures, and buoyancies. Experiment with natural and synthetic fibers, adjusting proportions to suit the fly you’re tying. Sometimes, a custom blend can be the key to replicating the unique characteristics of aquatic insects.
Realistic Fly Tying
Realistic fly tying is the pursuit of creating flies that mimic nature to the smallest detail.
Studying Natural Insect Anatomy
To achieve hyper-realism in your flies, start by studying the anatomy of natural insects. Pay attention to proportions, color variations, and textures. Observing insects in their natural habitat or studying macro photographs can provide valuable insights.
Using Micro and Macro Photography for Reference
Photography can be an invaluable reference tool for realistic fly tying. Macro photographs highlight details often missed by the naked eye, such as the arrangement of legs, wing venation, or the precise hues of an insect’s body. Use these images as a guide to refine your techniques.
Techniques for Hyper-Realistic Flies
Hyper-realistic flies demand meticulous attention to detail and mastery of advanced techniques. This might involve layering materials in specific sequences, using micro brushes for tiny details, or applying thin layers of resin to simulate the gloss of wings. Each fly becomes a study in patience and precision.
Practical Tips for Advanced Fly Tying
Beyond techniques and materials, some practical tips can make your fly tying more enjoyable and productive.
Organizing Your Fly Tying Space
A well-organized tying space can enhance your efficiency and creativity. Keep tools and materials within reach but neatly arranged to avoid clutter. Use storage solutions like drawers, racks, and bins to categorize materials by type, color, or purpose. A tidy space can make the tying process more enjoyable and streamline your workflow.
Maintaining Your Fly Tying Tools
Keep your tools in top condition to ensure they perform as needed. Regularly clean and oil scissors, pliers, and vises to prevent rust and ensure smooth operation. Sharp scissors and precise tools not only make tying easier but also improve the quality of your flies.
Strategies for Efficient Fly Tying Sessions
To maximize the productivity of your tying sessions, plan ahead. Decide on the patterns you’ll tie and prepare the necessary materials in advance. Consider tying in batches—completing all the same stages for multiple flies before moving on—which can save time and maintain consistency across your flies.
Remember, fly tying is as much about the journey as it is about the end product. Enjoy the process of learning and experimenting, and take pride in the flies you create. With practice and patience, you’ll develop advanced techniques that will make your flies irresistible to fish.


